Using Themes
Installing Themes
Shuup Themes (or Xthemes) are downloaded and installed like other addons.
Activating Themes
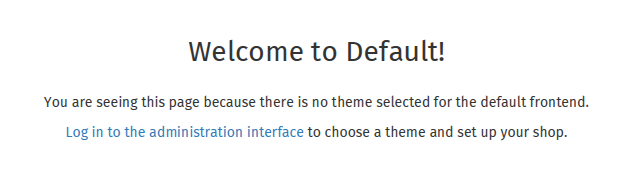
When a shop is first set up, visitors will see the following notice until a theme for the shop has been activated.
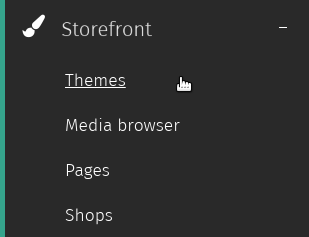
To activate a theme, go to the Shuup Admin and click Themes under the Content category from the Shuup Admin menu.
From here, themes can be activated or configured.
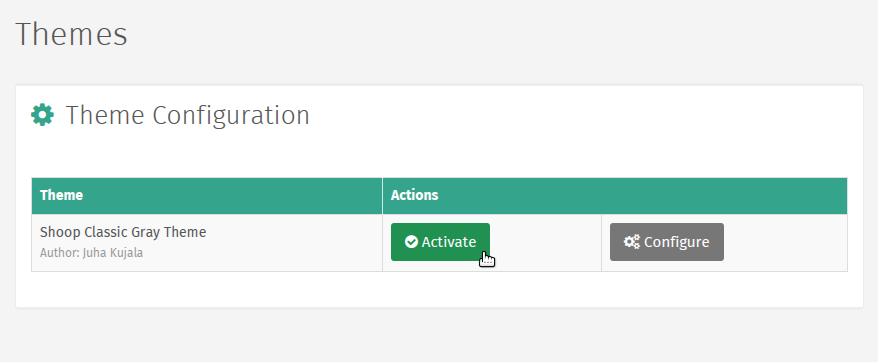
Clicking Activate will activate the theme, and by clicking Configure, you can configure any custom theme settings.
Editing a Page
To edit a page:
- Log in as an administrative user.
- Navigate to the page on the shop front you want to edit.
- Click the Edit Page button in the upper right-hand corner to enter edit mode.
Once in edit mode, placeholders will appear as blocks surrounded by dotted outlines.
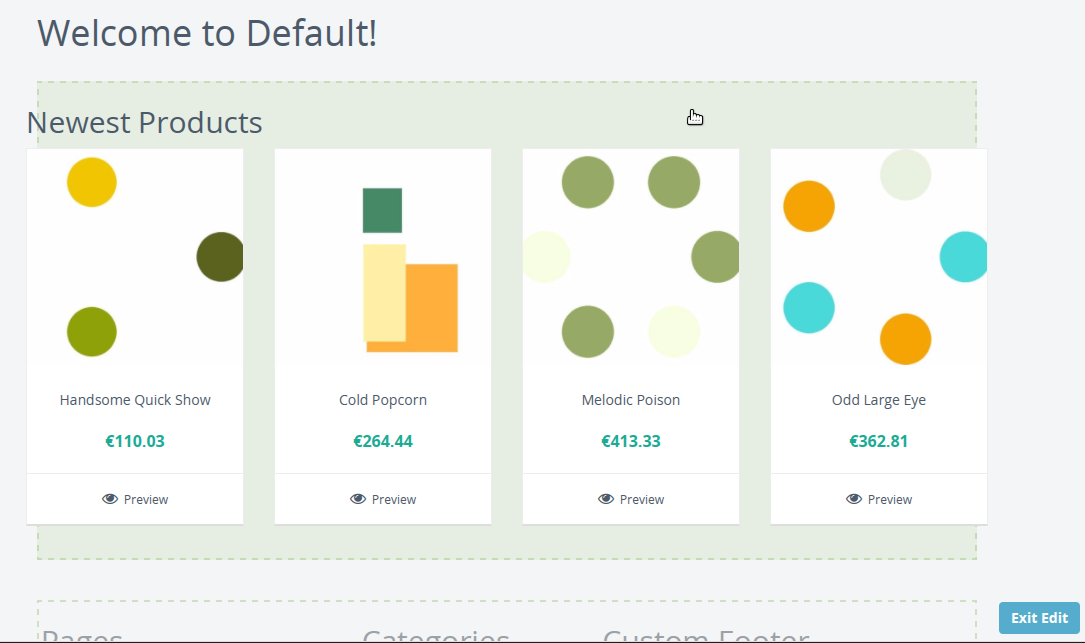
When finished editing, click the Exit Edit button to return to the normal mode.
Placeholders
Placeholders define the regions that a plugin may be included on a page. The theme source code defines where in the shop’s pages placeholders will appear.
To edit placeholders, enter edit more and click the placeholder you wish to edit.
See Editing a Page for more information.
Note
Changes to regular placeholders only affect a single page or view.
However, if a placeholder is a global placeholder, any changes will be reflected site-wide. Typically, these are used in areas such as headers or footers.
Refer to your theme documentation regarding which placeholders are global placeholders.
Plugins
Shuup Xtheme plugins provide an easy way for merchants to customize their shop frontend.
Shuup comes with a selection of default plugins, or plugins may be provided by themes or addons.
Adding Plugins
To add a plugin:
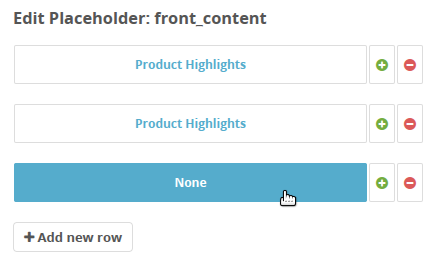
Enter edit mode and click the placeholder to which you want to add plugins.
Click Add new row button to add a new row of cells, or to add a column to an existing row click the new cell button add a column cell.
Blank plugin cells will be labelled as None and existing cells will be labelled with their plugin type. Select the None cell to configure the plugin settings.
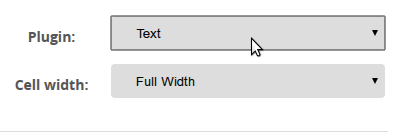
Select a plugin from the Plugin dropdown and enter any required plugin settings.
Click the Save Plugin button at the bottom of the Xtheme edit window to save the plugin settings.

Note
While in edit mode, placeholder changes will be visible. However, they will not be visible outside edit mode until they have been published.
Click the Publish Changes button at the top of the Xtheme edit window to save the placeholder settings.